Getting Set Up
- Download Zoom to your computer, then create a Zoom account.
- Log in to your Genesis Student Portal. The Zoom link is listed in your upcoming events.
- You can share your worksheets and homework with your tutor by screen-sharing. It’s a good idea to have them ready on your computer when the session starts.
Screen Sharing
During our online tutoring sessions, students can share their screens through Zoom to show their assignments. If you are already familiar with Zoom and have screen shared in the past, you are good to go!
Apple/Mac Users: If this is your first time screen sharing on an Apple computer, Zoom will ask you to enable certain settings when you try to share for the first time. Your tutor can help you through this, or you can do this in advance by following these steps.
PC Users: If you are using a PC, you are good to go and will be able to screen share right away.
Keeping a “Floating Video” in the Corner
You can have your video pop into the corner so that you can move away from Zoom and go to other pages. This only works if you have downloaded the Zoom app (it won’t work if you are using the browser version).
If you are screen sharing, your video will automatically “pop into the corner” so that you can move to other windows and still see the tutor/yourself.
If you are not screen sharing, here is how you can still “pop into the corner” and move to a different window:
- On the top right of the Zoom, click “View”
- Click Speaker
- Now Zoom full screen by maximizing the window
- Move to a different window
- You should now see yourself popped into the corner — move your mouse over the video click the little grid
- Now you should see both you and your tutor

Online Whiteboard
For writing math equations, we use a collaborative online whiteboard called BitPaper.io. There is no download needed. During your session, your tutor will send you a link to a BitPaper, where you can draw and write equations together. These whiteboards can be saved and reviewed.
To draw clearly, our tutors have digital pens. Here are your options for drawing:
- You can use your mouse or trackpad.
- If you have an iPad or tablet, you can open the BitPaper link there and use your finger, or a pen that works on tablets.
- Get a digital pen. We use the Wacom Intuos Tablet (around 90$) and the Wacom One (around 70$). These are available on Amazon, as well as many other options.
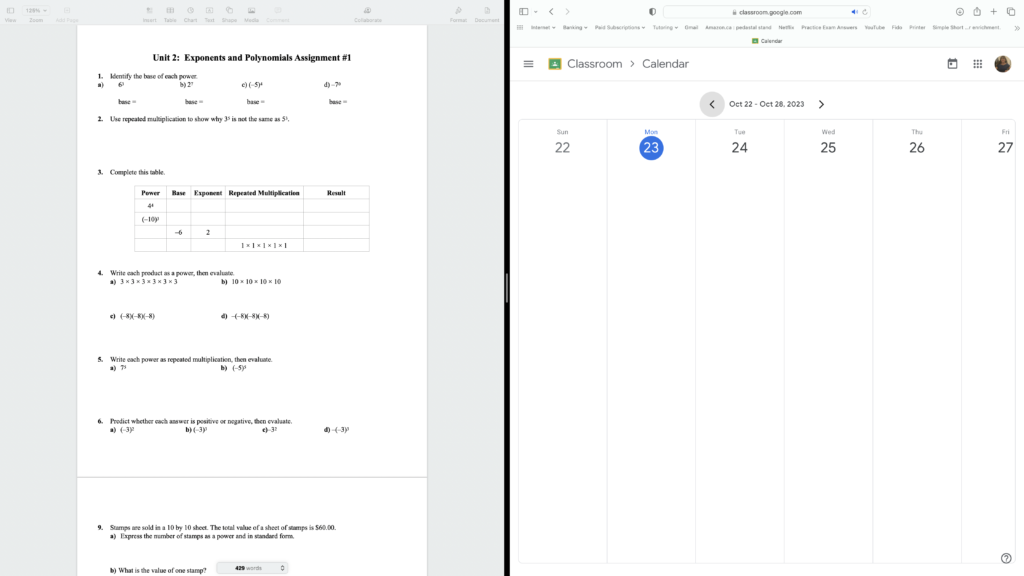
Split the Screen in Half
It can be useful to have half your screen be the BitPaper, and half your screen be something else, such as your assignments or school portal. To do this, click and HOLD the “+” symbol in the top corner of your window (as if you were going to make it full screen). This should give you the option to have that window take up exactly half your screen, and then have you choose another window for the second half!
Tips for Using BitPaper
Here are some helpful tips for how to use the online whiteboard, BitPaper. It is recommended that you have your BitPaper open while reading these tips, so you can try them yourself. To do this, go to BitPaper.io, make an account, and click on “Create Paper”.
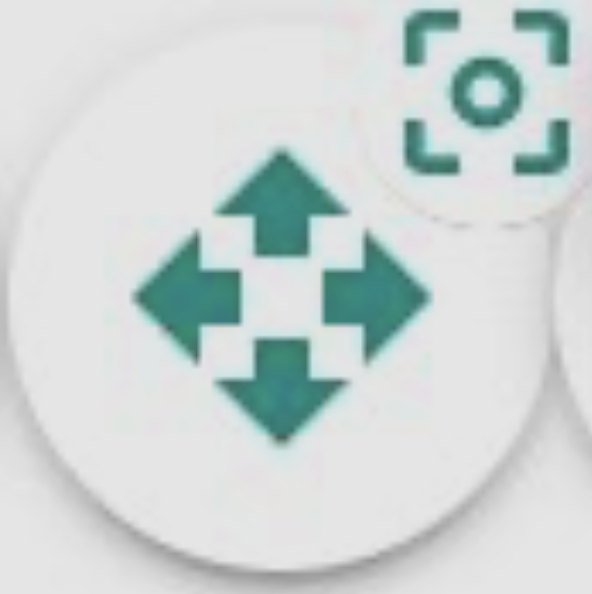
Move Around the Board
The tool with 4 arrows is useful because it allows you to move around the page if you run out of room.
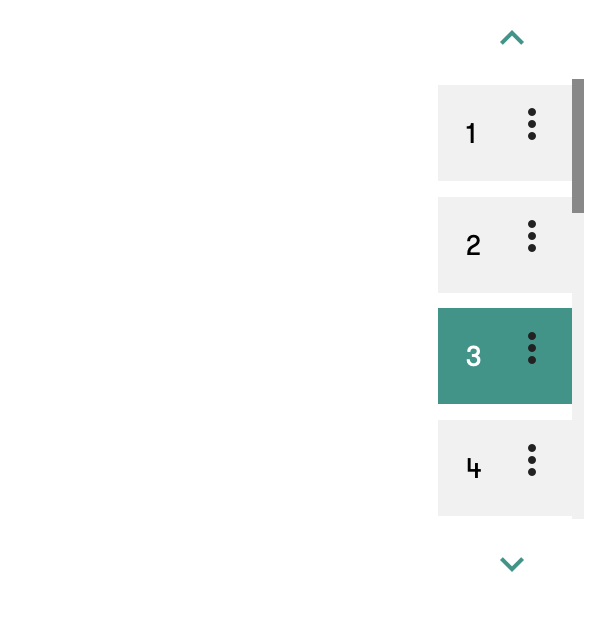
Pages
The pages on the top right allow you to create new pages. It is nice to have one page per problem!
Drag In Screenshots
You can bring in Screenshot the portion of the screen you want to use, or whole screen (Macbook users can screen shot a portion of the image by pressing COMMAND, SHIFT, then 4). The screen shot will save to your desktop.
Some monitors allow you drag and drop your image directly into BitPaper. This is easiest!
You can also click the clipboard to upload images manually.
Tools
There are tool at the bottom of the page (pens, highlighters, rulers, colours and much more).
Keyboard Shortcuts
Want to become a real pro at BitPaper? Hit “K” on your keyboard to see the list of shortcuts.